
How to List All Your Stash Entries in Git
Stashing is a helpful Git feature that allows you to safely store your uncommitted local changes and maintain a clean working directory. This enables you to switch to a different branch, pull updates from a remote repository, or perform a merge without losing your current work progress.
If you frequently use stashes, you will eventually build up a long list of stash entries. To access this list, you can use the git stash list command:
$ git stash listDepending on whether you wrote a custom message while stashing or not, the output will appear similar to what you can see here:
$ git stash list
stash@{0}: On main: New sidebar
stash@{1}: On main: Blog template
stash@{2}: On feature/affiliate-program: Affiliate Program page
stash@{3}: WIP on main: c953ca6 Add HTML boilerplate
You can restore those entries to your working copy by using the git stash pop command, which is explained in detail here.
Since the stash list can become quite long overtime, you can use the same formatting options available for git log to display it nicely.
For instance, you can limit the number of entries shown by specifying a number option. In this example, only the last 3 entries will be displayed:
$ git stash list --3You can also use the --all flag to view stashes related to all branches, not just the one you are currently checking out:
$ git stash list --all
The Git Cheat Sheet
No need to remember all those commands and parameters: get our popular "Git Cheat Sheet" - for free!
Getting more information from the git stash list command
To navigate through your Git stash history by specifying a date range, use the --before and --after options:
$ git stash list --before 10.days.ago
$ git stash list --after 5.months.ago
For more detailed information about the changes, you can use the -p or --stat options.
$ git stash list -p
$ git stash list --stat
To filter the stash list based on a regular expression pattern, you can use the --grep <pattern> option:
$ git stash list --grep "login"
stash@{0}: WIP on feature/login: 3e8a1f4 Implement login functionality
stash@{4}: WIP on feature/login-ui: 9c2d1e1 Style login form
The git stash show Command
After identifying the entry you were looking for, you will likely want to see what's actually stored in the stash. For this, the git stash show command will be helpful as it displays a summary of file changes.
If you type git stash show without any additional options, you can view information about your most recently saved stash:
$ git stash show
 www/index.html         | 4 ++--
 www/style.css            | 2 +-
 2 files changed, 3 insertions(+), 3 deletions(-)
To access a stash that has been stored previously, use the following command and replace "<stash@{num}>" with the corresponding number you find in the output of git stash list:
$ git stash show stash@{2}It's possible that the git stash show command may not seem very useful by itself. This is because you might be specifically interested in the differences between your stash and your current project, which you can see by adding the -p option.
$ git stash show -p stash@{2}You can also use the git diff command to compare the contents of the stash with those checked into the HEAD on the main branch:
$ git diff stash@{1} mainTip
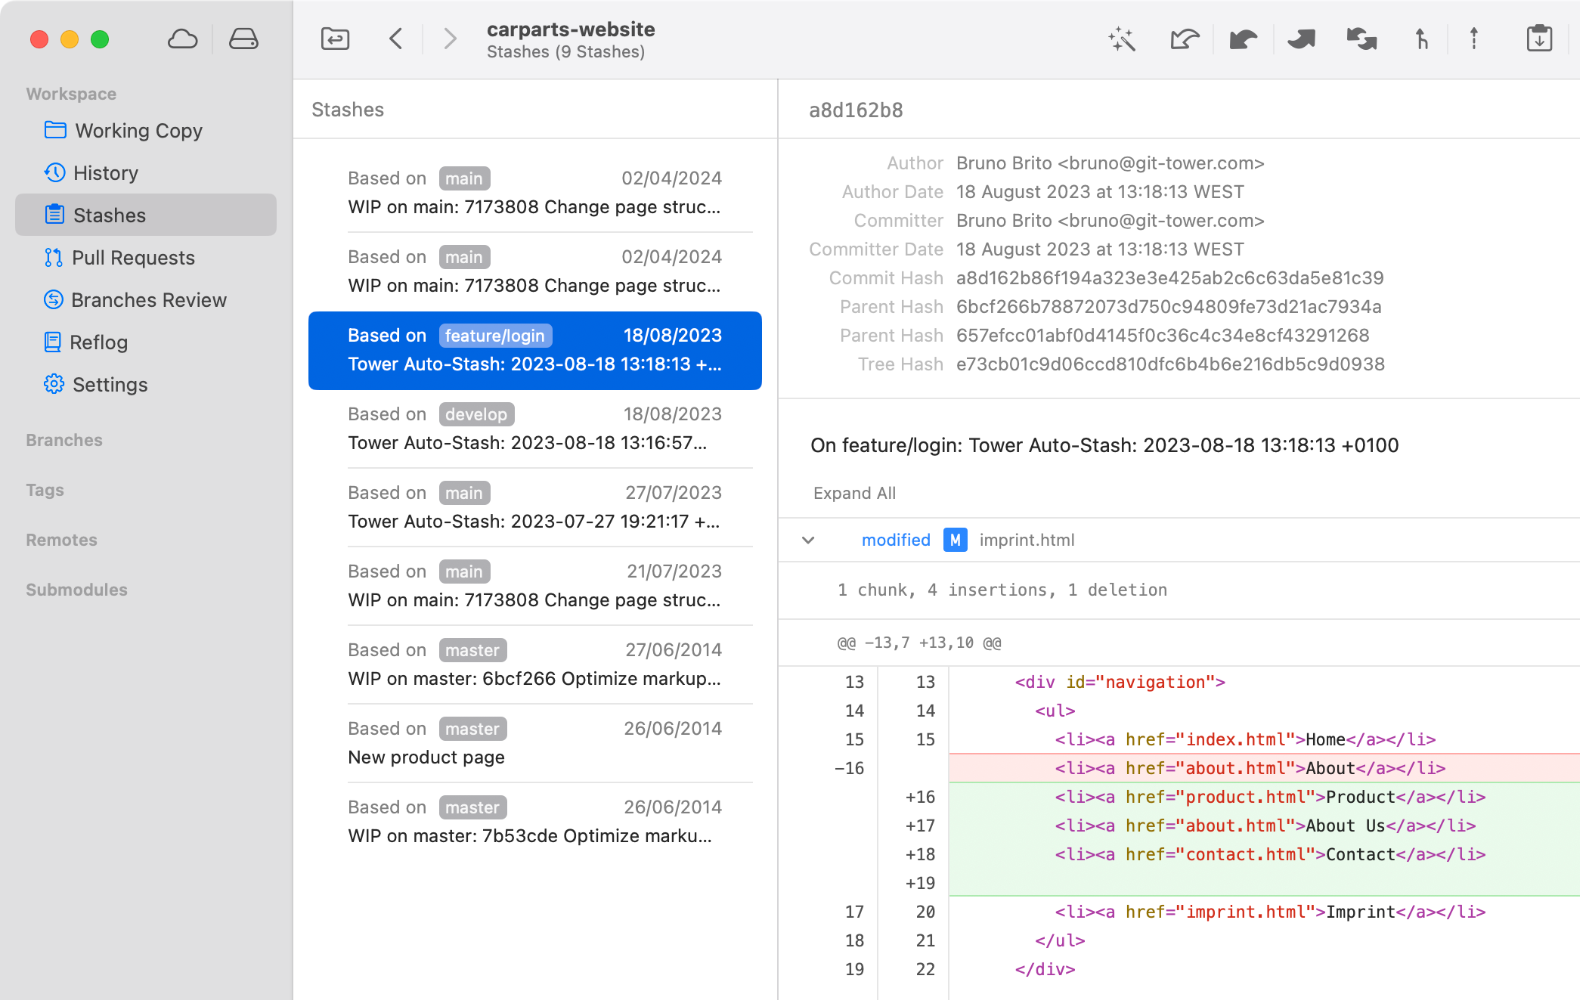
Inspecting Stash Entries in Tower
If you are using the Tower Git client, you can easily manage all your stash entries and inspect their diffs by accessing the "Stashes" view in the sidebar.
Learn More
- Check out the chapter Saving Changes Temporarily in our free online book
Get our popular Git Cheat Sheet for free!
You'll find the most important commands on the front and helpful best practice tips on the back. Over 100,000 developers have downloaded it to make Git a little bit easier.

About Us
As the makers of Tower, the best Git client for Mac and Windows, we help over 100,000 users in companies like Apple, Google, Amazon, Twitter, and Ebay get the most out of Git.
Just like with Tower, our mission with this platform is to help people become better professionals.
That's why we provide our guides, videos, and cheat sheets (about version control with Git and lots of other topics) for free.