How to Add a Remote in Git
Cloning a repository from a remote server downloads the project to your local computer and leaves you with a local Git repository. This local Git repository will already have a connection to the original remote set up, automatically. This is what the "origin" remote connection points to.
But if you started by creating a local repository on your computer, there won't be such a connection. Let's look at how to add a remote in this short article!

The Git Cheat Sheet
No need to remember all those commands and parameters: get our popular "Git Cheat Sheet" - for free!
Adding a Remote
First, it's important to understand that origin is in no way a "special" name. In theory, you could name your remote connections any way you like. But the common, agreed-upon convention is to call a repository's main remote connection "origin" - which is why it makes sense to adhere to this naming scheme.
We're going to add a new remote connection to our local repository using the git remote command and need to pieces of information for this:
- The name we'd like for this new remote.
- The URL of the remote repository. You can find this after creating a new remote repo on your hosting service of choice (e.g. GitHub, GitLab, Bitbucket...).
Let's go:
$ git remote add origin https://github.com/gittower/example.gitYou can easily check if the command has worked:
$ git remote -v
origin  https://gittower@github.com/gittower/example.git (fetch)
origin  https://gittower@github.com/gittower/example.git (push)
Voila, looks good!
Tip
Adding a Remote in Tower
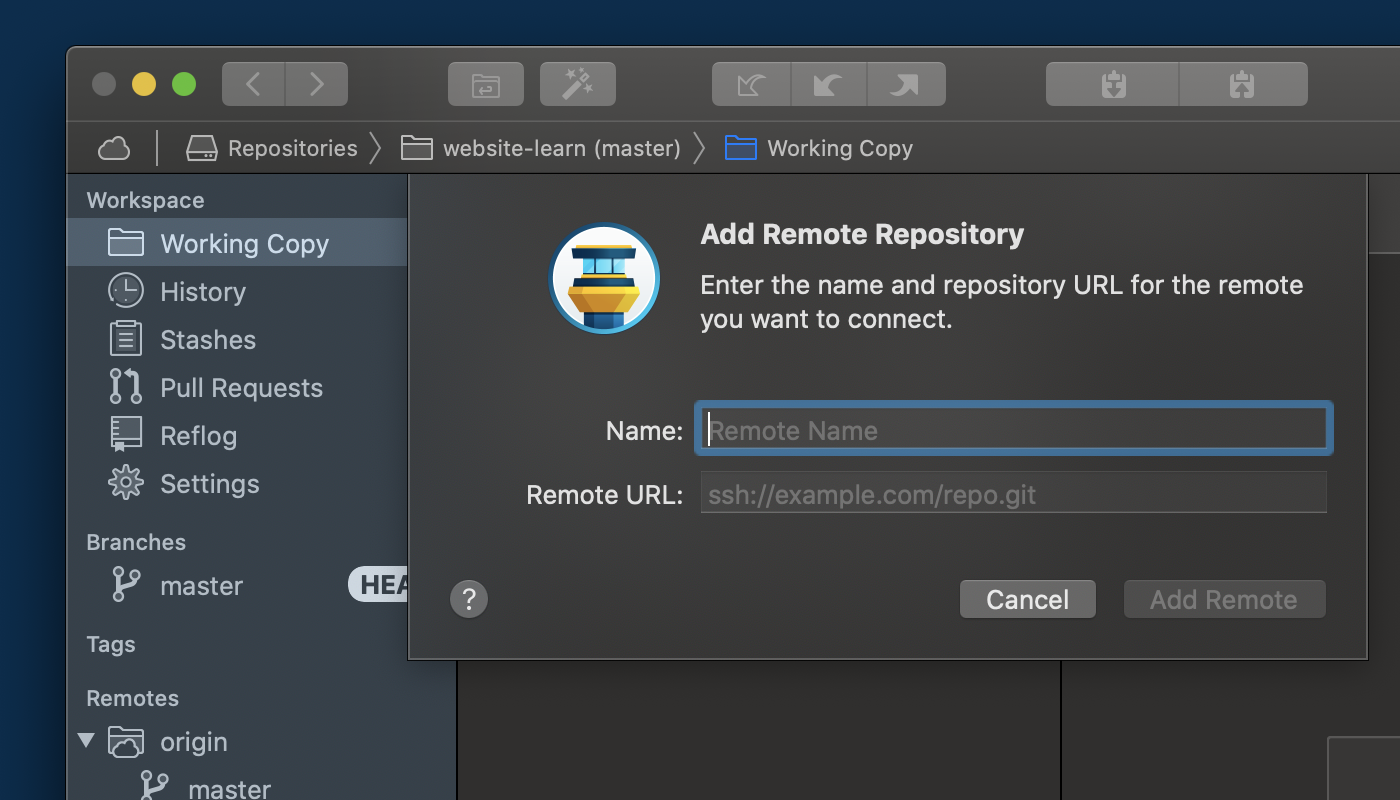
In case you are using the Tower Git client, you can add a remote repo easily through the "Add Remote Repository" dialog:

Learn More
- Check out our command overview on git remote
Get our popular Git Cheat Sheet for free!
You'll find the most important commands on the front and helpful best practice tips on the back. Over 100,000 developers have downloaded it to make Git a little bit easier.

About Us
As the makers of Tower, the best Git client for Mac and Windows, we help over 100,000 users in companies like Apple, Google, Amazon, Twitter, and Ebay get the most out of Git.
Just like with Tower, our mission with this platform is to help people become better professionals.
That's why we provide our guides, videos, and cheat sheets (about version control with Git and lots of other topics) for free.