git switch
The "switch" command allows you to switch your current HEAD branch. It's relatively new (added in Git v2.23) and provides a simpler alternative to the classic "checkout" command.
Before "switch" was available, changing branches had to be done with the "checkout" command. The problem with "checkout", however, is that it's a very versatile command: you can not only use it to switch branches, but also to discard changes, restore files, and much more.
The "switch" command provides a simple alternative to "checkout". It has a very clear and limited purpose: switching and creating branches!
Important Options
<branch-name>
The name of a local or remote branch that you want to switch to. If you specify the name of an existing local branch, you will switch to this branch and make it the current "HEAD" branch.
But you can also specify a remote branch: in that case, Git will create a new local branch based on that remote branch and set up a tracking relationship.
-c <new-name>
The name of a new local branch you want to create. Using the "-c" flag, you can specify a name for a new branch that should be created. You can also specify a starting point (either another branch or a concrete revision); if you don't provide any specific starting point, the new branch will be based on the current HEAD branch.
<branch-name> --discard-changes
Switch to the specified branch and discard any local changes to obtain a clean working copy. As a general rule, your working copy does NOT have to be clean before you can use "switch". However, if you have local modifications that would conflict with the switched-to branch, Git would abort the switch. Using the "--discard-changes" flag will discard any of your current local changes and then switch to the specified branch.
-
Switch back to the previous branch. When specifying just the "-" character instead of a branch name, Git will switch back to the last checked out branch. This can be helpful if you want to often and quickly jump between two branches.
Tip
Switching Branches in Tower
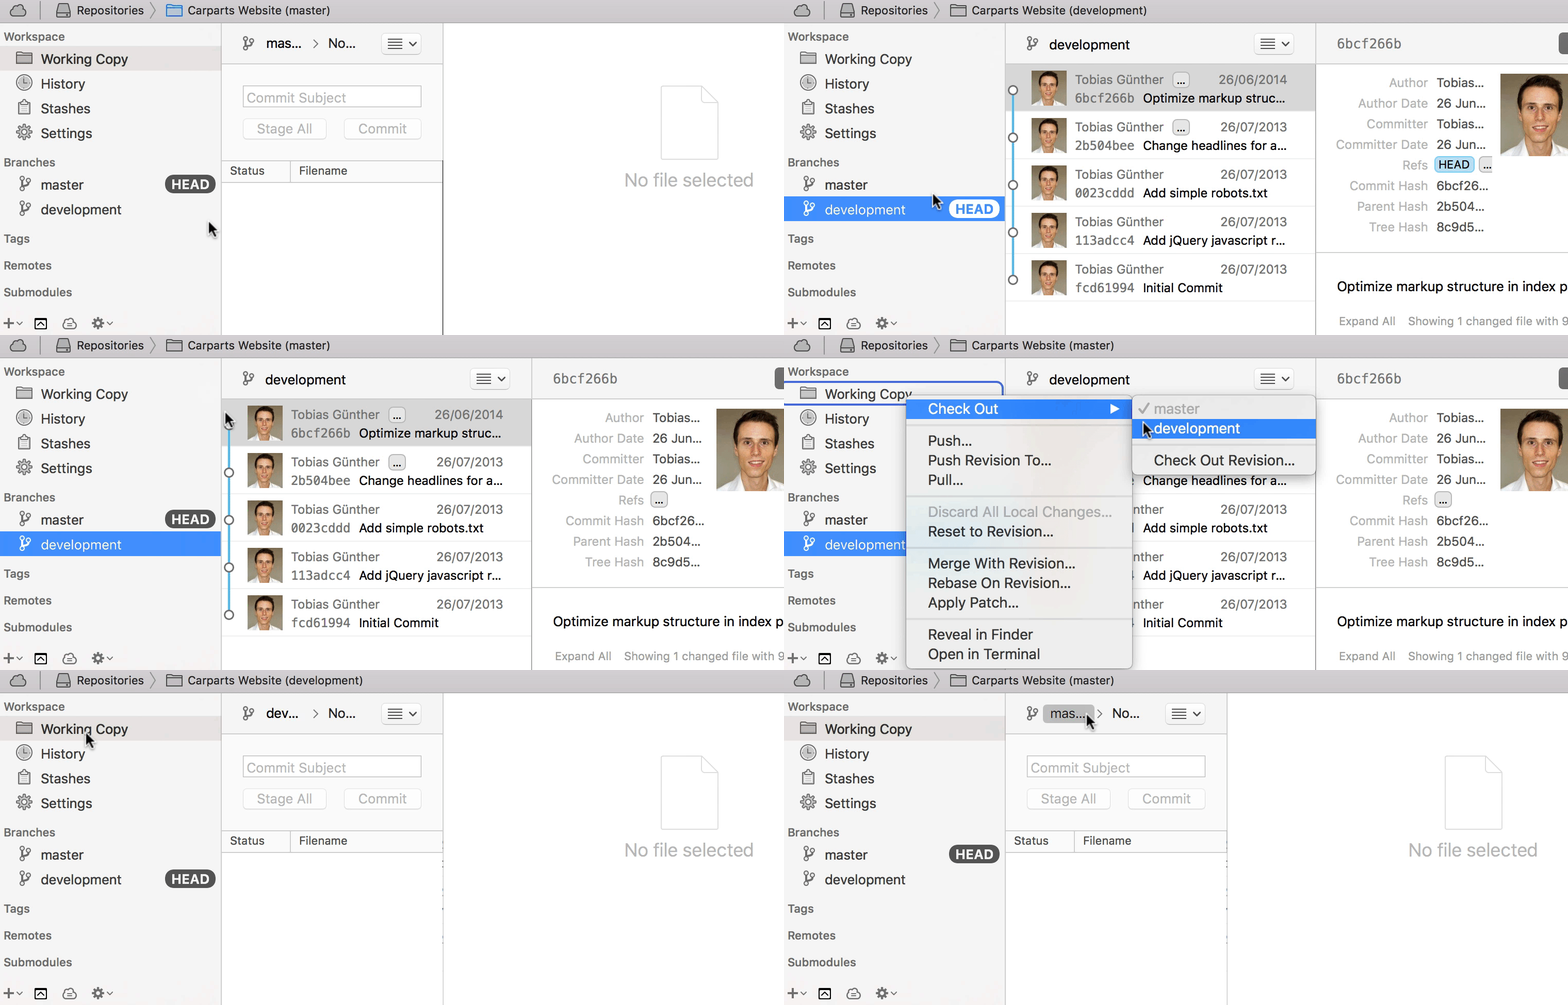
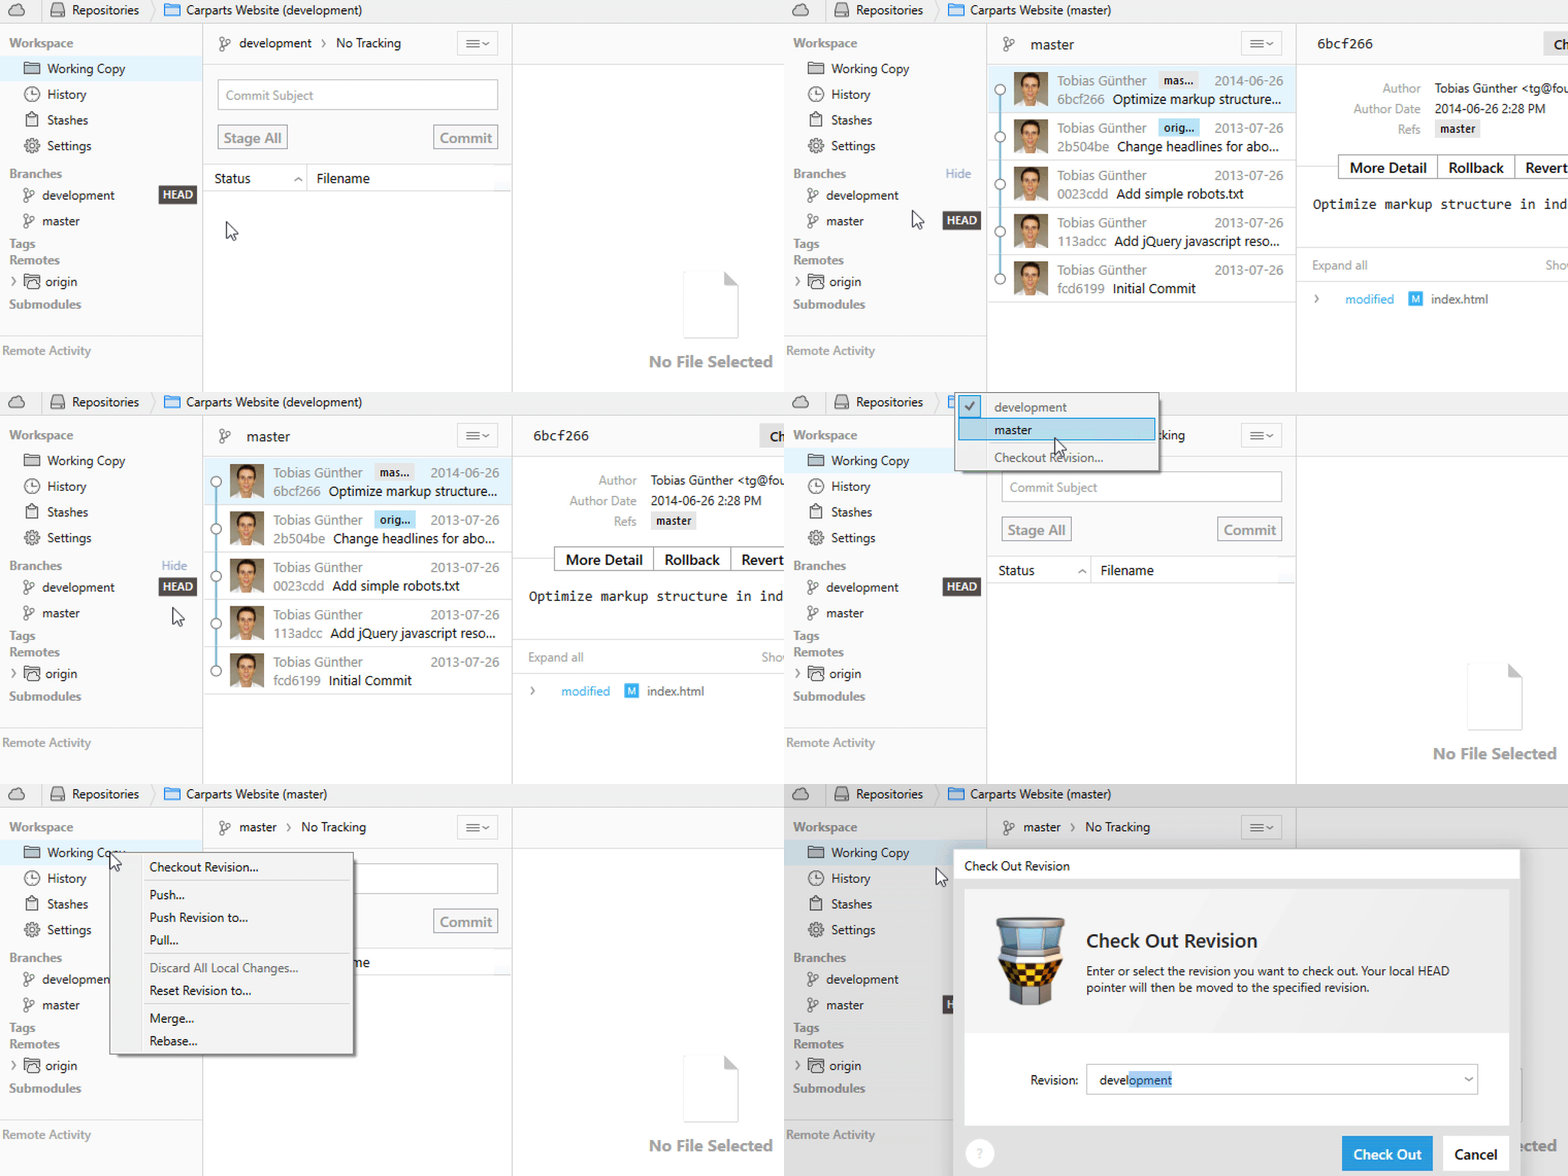
In case you are using the Tower Git client, switching branches becomes easy as pie. Simply double-click a branch in the sidebar to make it the new HEAD branch - or choose a branch from a list.


Usage Examples
The most common scenario is to simply specify the local branch you want to switch to:
$ git switch other-branchThis will make the given branch the new HEAD branch. If, in one go, you also want to create a new local branch, you can use the "-c" parameter:
$ git switch -c new-branchIf you want to check out a remote branch (that doesn't yet exist as a local branch in your local repository), you can simply provide the remote branch's name. When Git cannot find the specified name as a local branch, it will assume you want to check out the respective remote branch of that name:
$ git switch remote-branchThis will not only create a local branch, but also set up a "tracking relationship" between the two branches, making sure that pulling and pushing will be as easy as "git pull" and "git push".
If you have local modifications that would conflict with the branch you want to switch to, you can instruct Git to clear your working copy of any local changes (please be careful with this!):
$ git switch other-branch --discard-changesFinally, if you want to switch back to the previously checked out branch, you can simply do this by specifying only the "-" character:
$ git switch -Learn More
- Check out the chapter Checking Out a Local Branch in our free online book
- Find the full command description in the Git documentation
- More frequently asked questions about Git & version control
Get our popular Git Cheat Sheet for free!
You'll find the most important commands on the front and helpful best practice tips on the back. Over 100,000 developers have downloaded it to make Git a little bit easier.

About Us
As the makers of Tower, the best Git client for Mac and Windows, we help over 100,000 users in companies like Apple, Google, Amazon, Twitter, and Ebay get the most out of Git.
Just like with Tower, our mission with this platform is to help people become better professionals.
That's why we provide our guides, videos, and cheat sheets (about version control with Git and lots of other topics) for free.