Opening a Repository in Tower
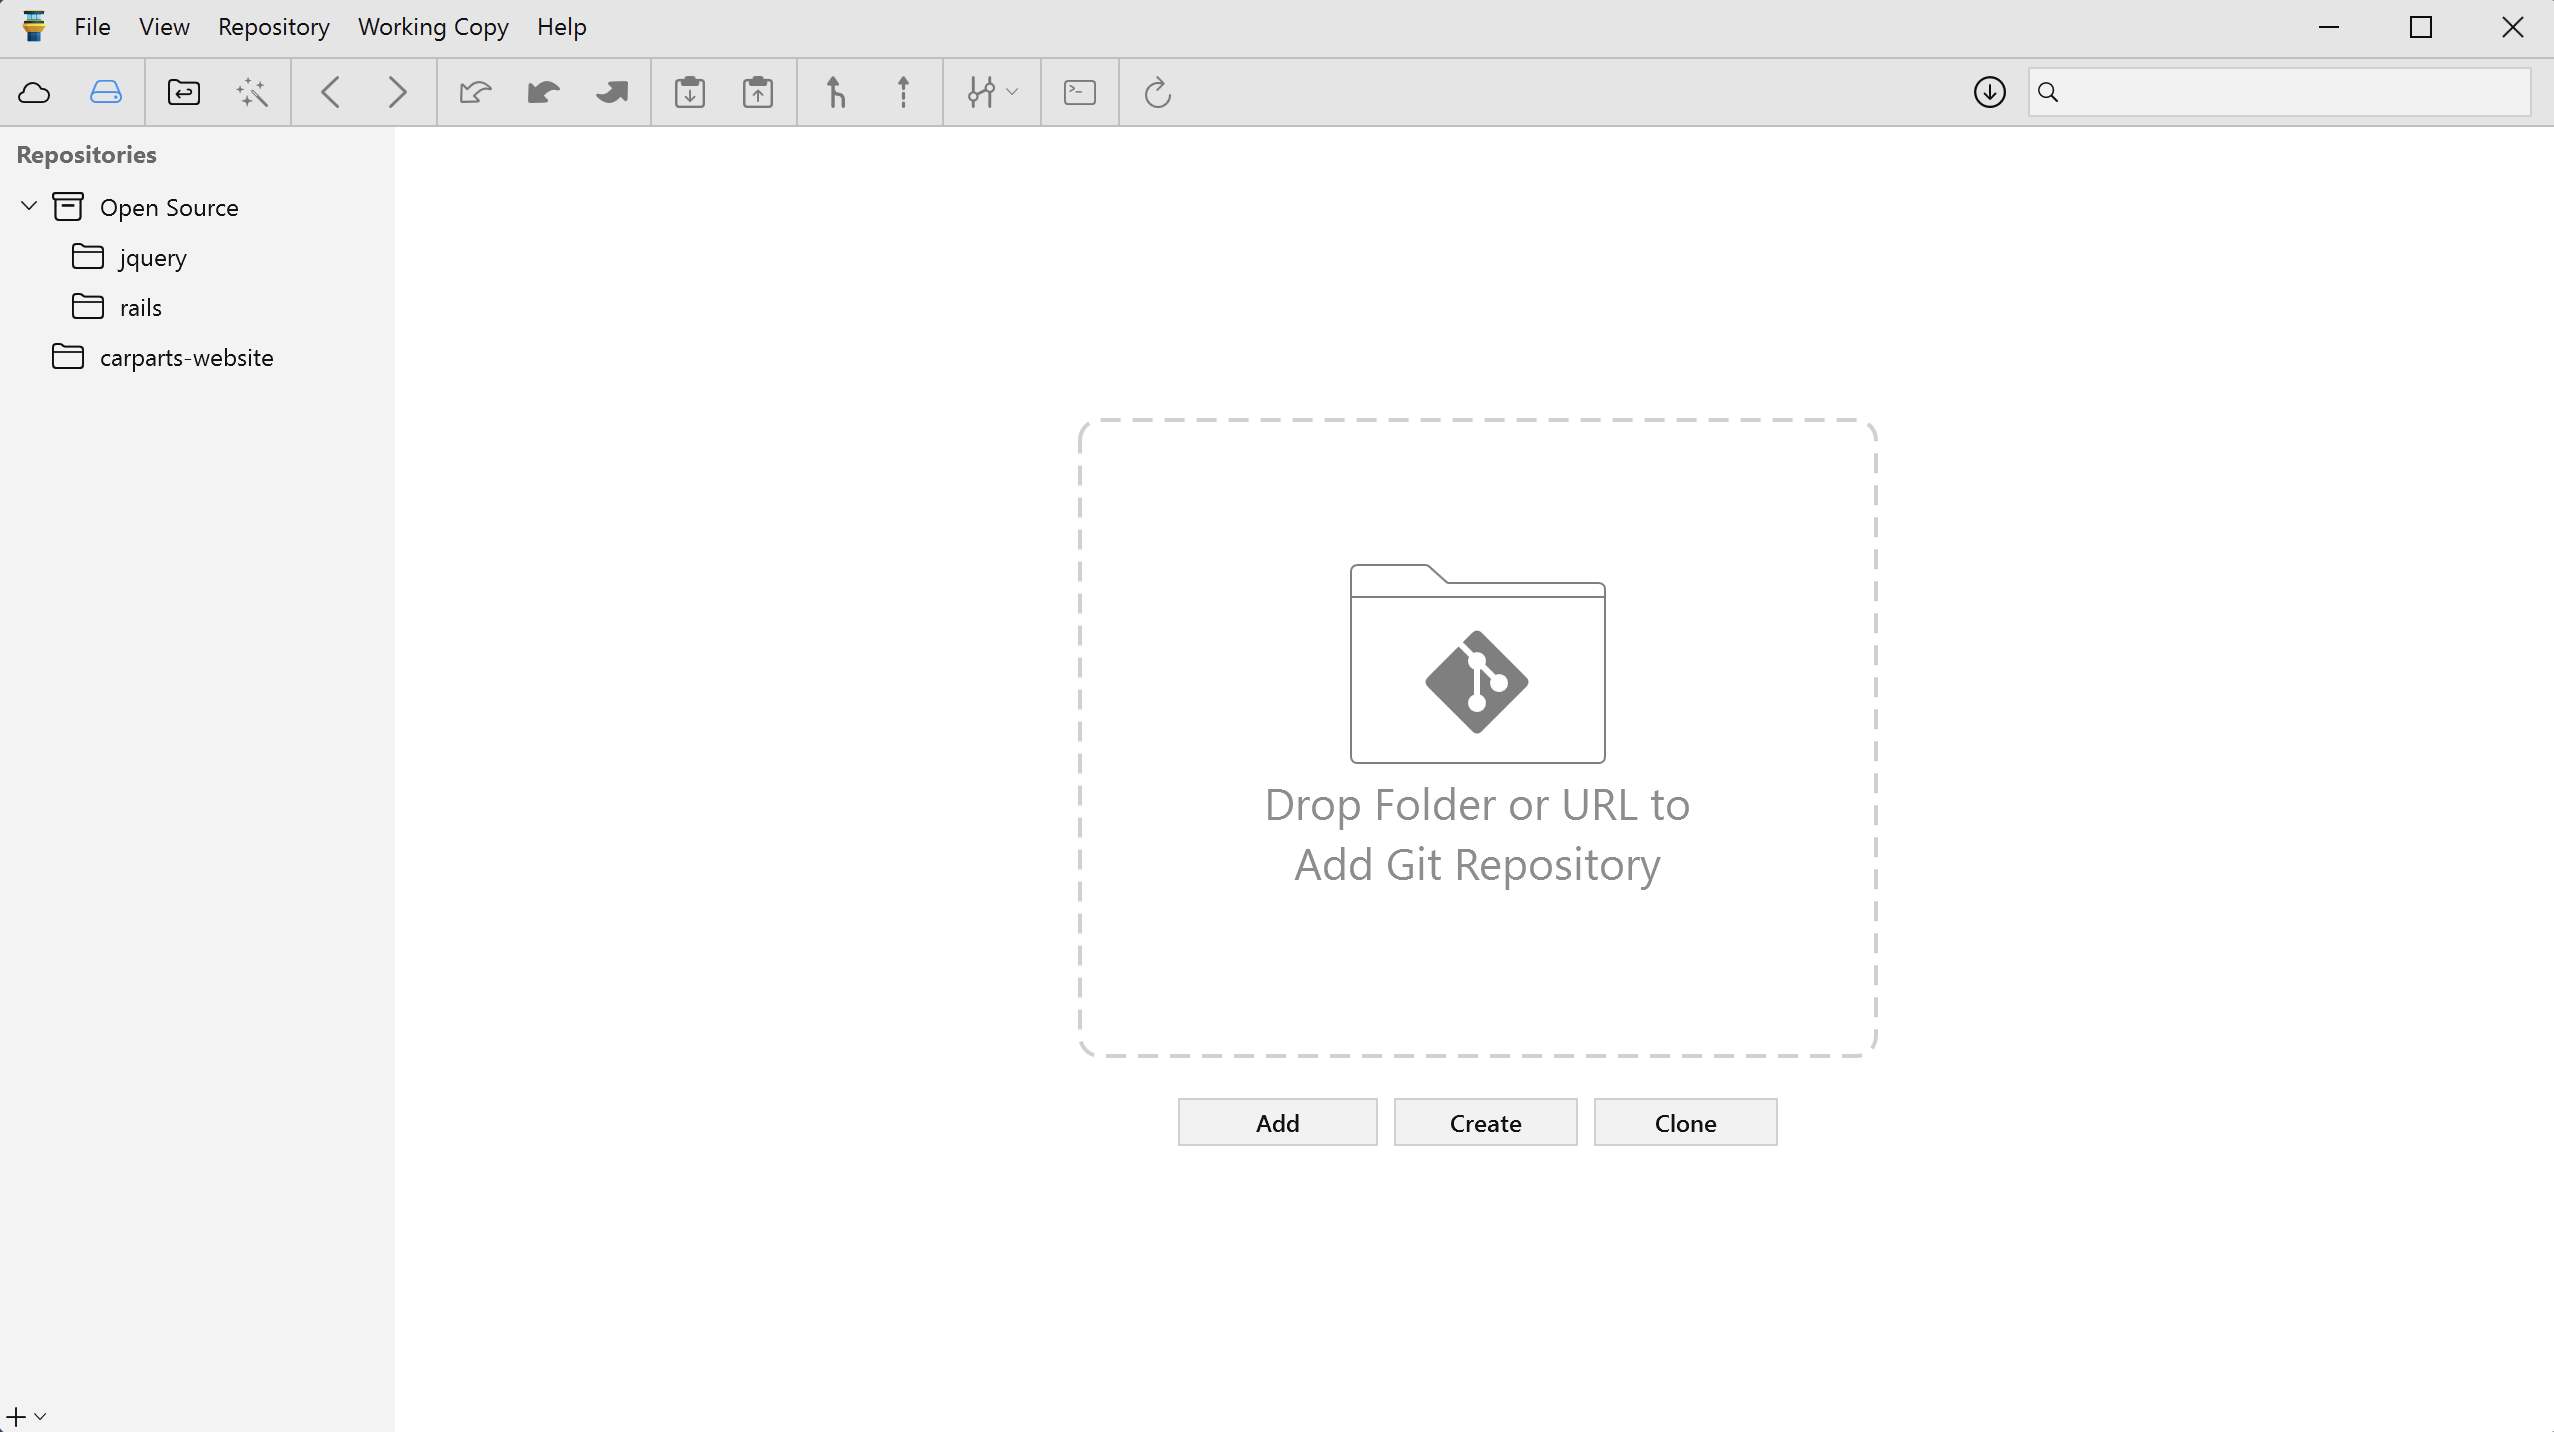
The first step is to choose a repository you want to work with. In Tower, the Repositories view allows you to:
(a) Open a repository you've already added to Tower.
(b) Add an existing repository from your local disk.
(c) Create a new repository, either in a project you already started or in a blank folder.
(d) Clone a remote repository from a remote location - either your own server or some service like GitHub, Bitbucket, or Beanstalk. This will effectively create a copy of this repository on your local computer you can work with.
Working on Your Files
Modify, rename and delete files or add new ones. This step happens completely outside of Tower - typically in an editor application like Eclipse, Visual Studio, or Photoshop. There‘s nothing to watch out for in this step!
Checking the Status
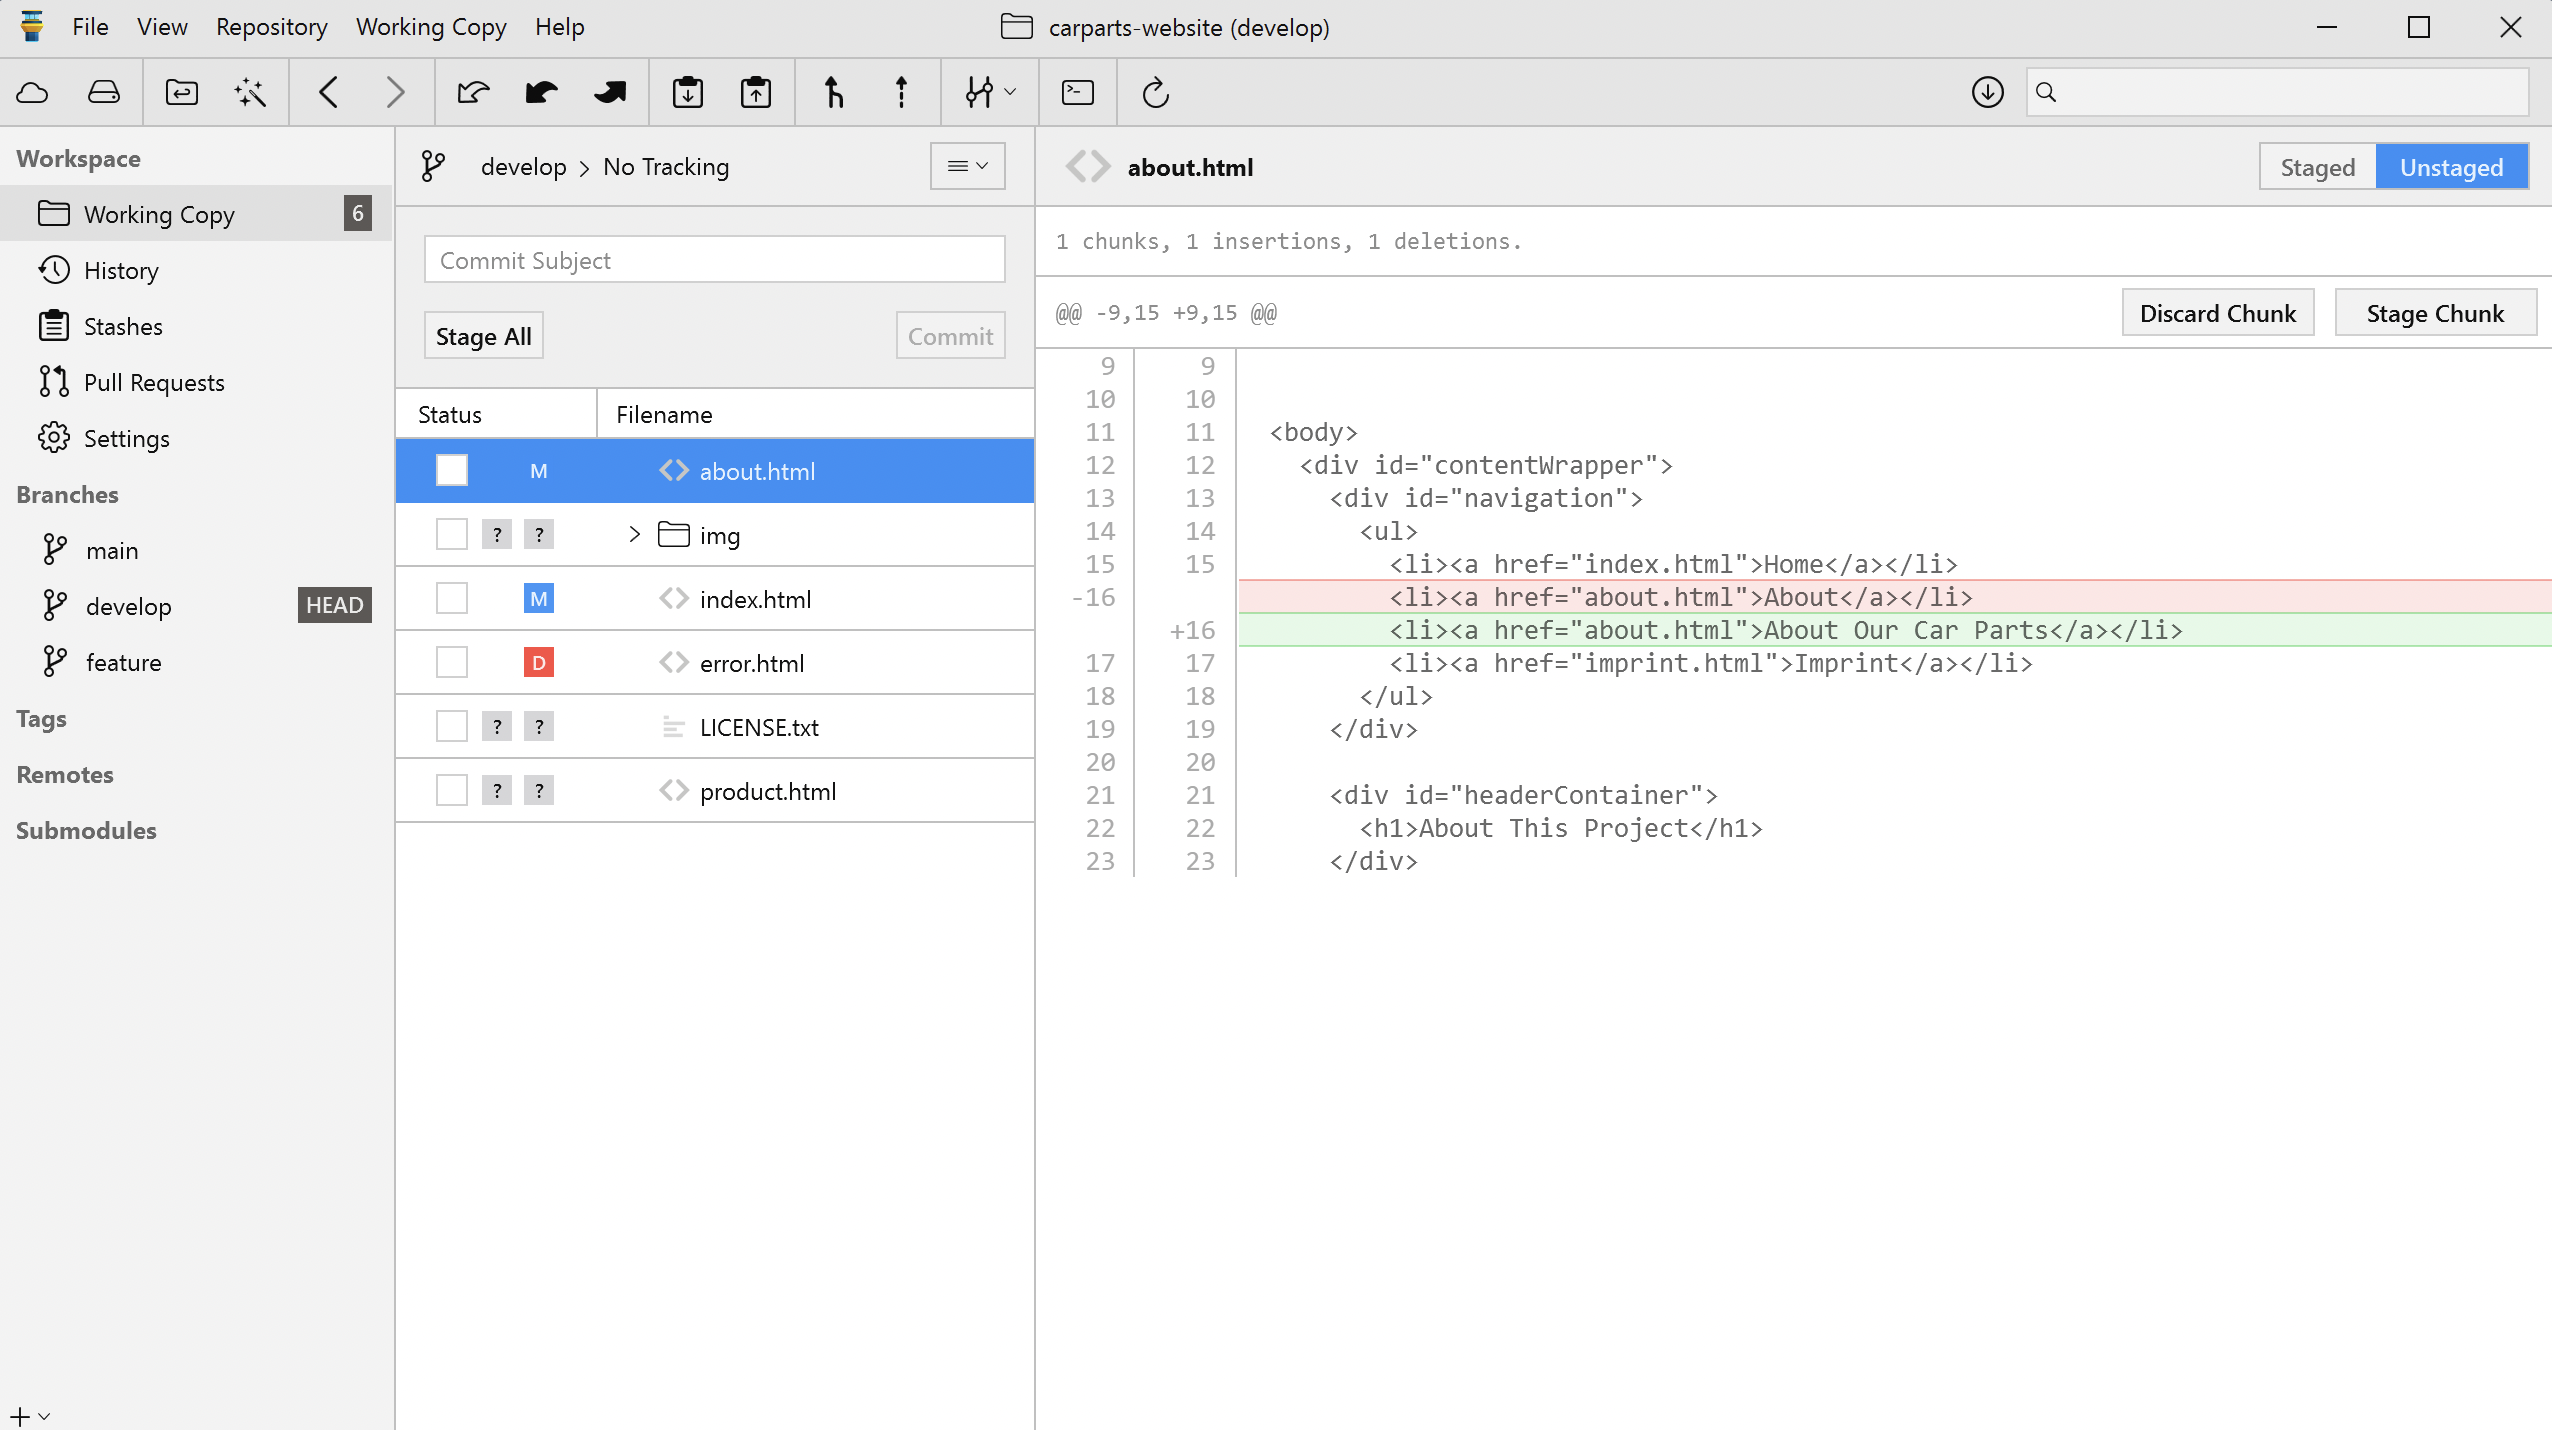
The Working Copy view informs you about which files you've modified since your last commit. To see the exact changes you made in a file, simply select it and inspect its diff on the right.
Tip: If you need to see all of your project's files (instead of just the modified ones), you can change this by clicking the list mode button above the commit area (or in the "View" menu).
Staging Changes
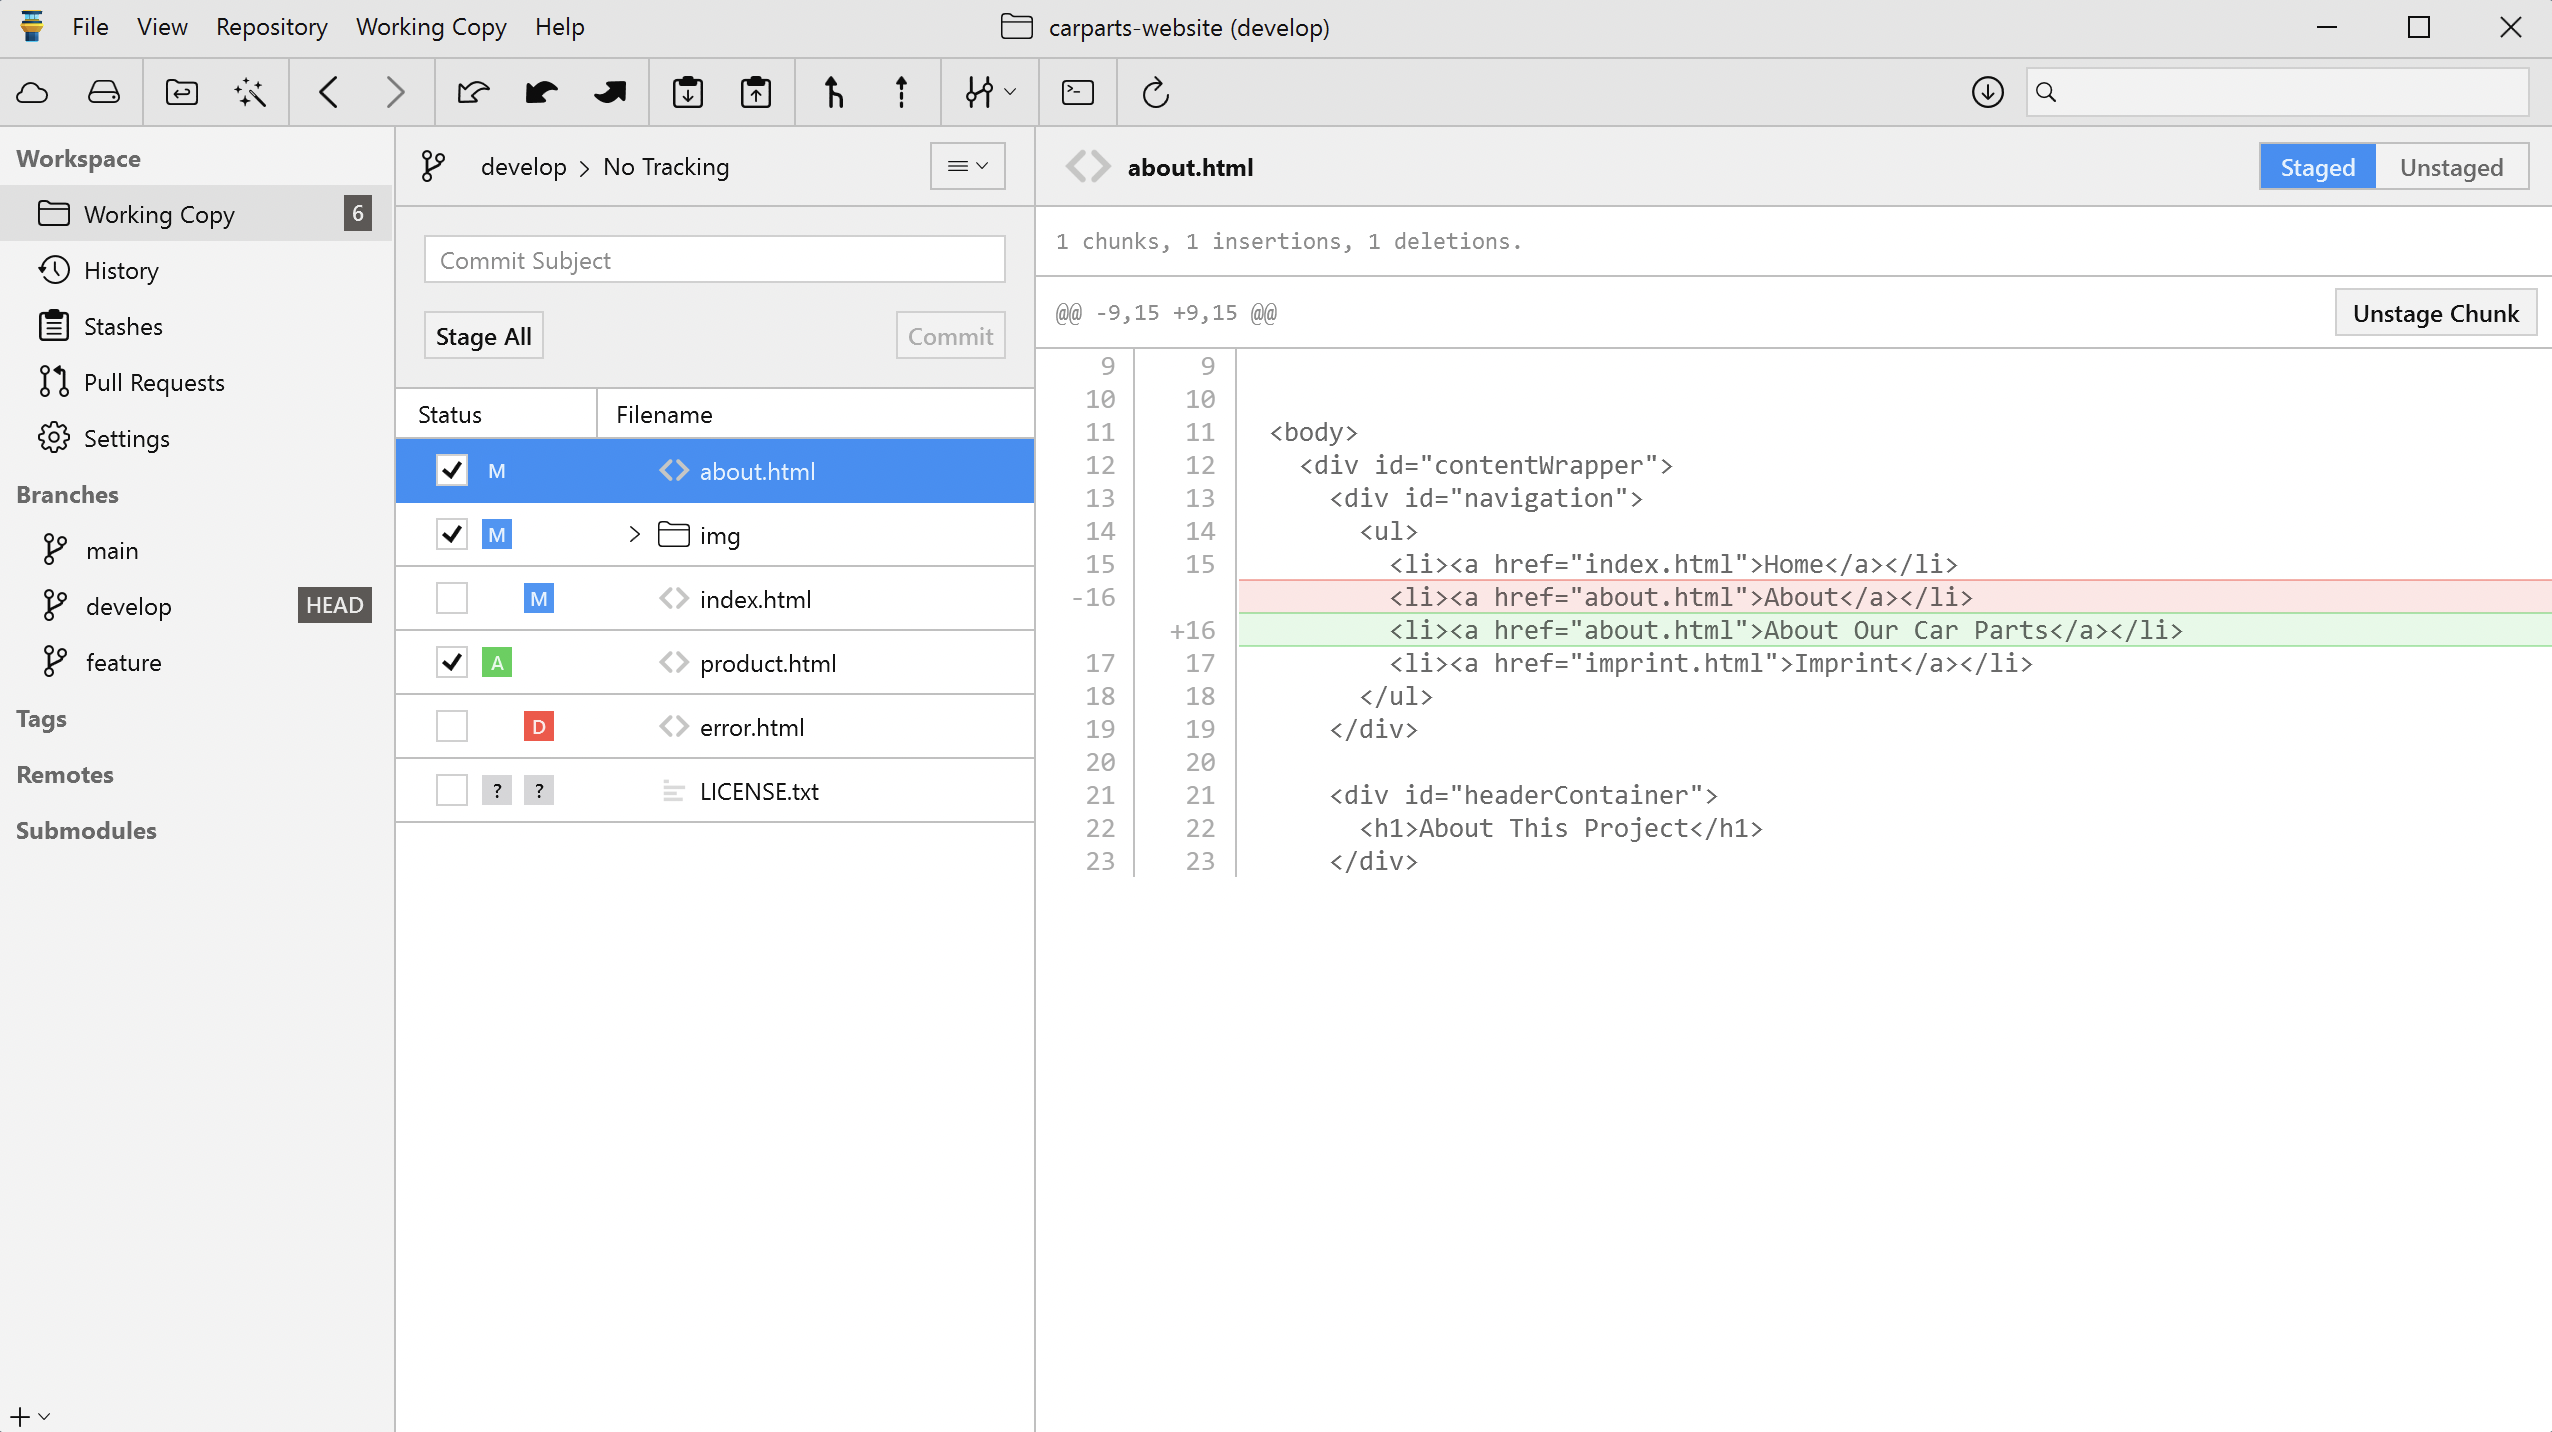
In Git, simply changing a file doesn't mean it will be automatically included in the next commit. Instead, you have to explicitly decide which changes you want to include. Marking a modification to go into the next commit is called "staging" or "adding to the staging area" in Git.
You can either stage all modifications in a file by ticking its "Status" checkbox in the list - or even stage individual parts of a file in the diff view on the right.
In addition to the checkbox changing its state, the icon in the "Status" column changes from right to left: an icon on the right means that there are changes that have not yet been staged (added). An icon on the left means that the file contains changes that are staged (marked to go into the next commit).
Committing Changes
To wrap the changes you just staged in a commit, you only need to enter a short subject (and, optionally, a bit more text in the description) and click Commit.
Viewing Commit History
If you switch to the History view, you will see that a new commit was created in your local repository. Select it to see all details (like the date, author, and exact changes) on the right.


